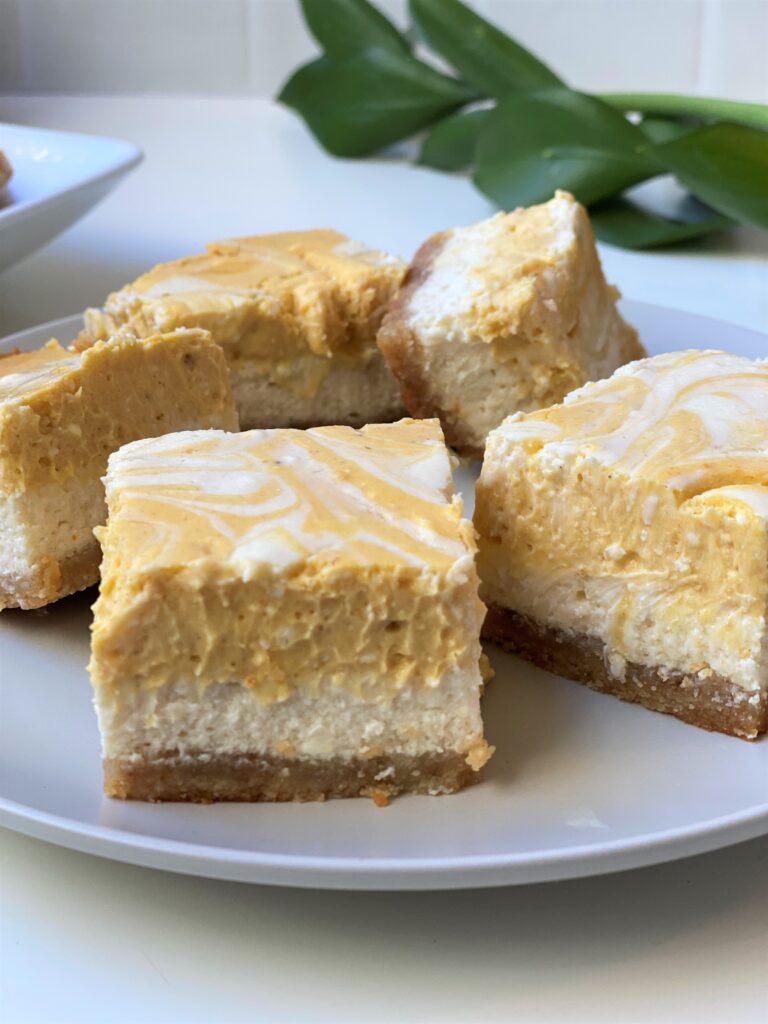
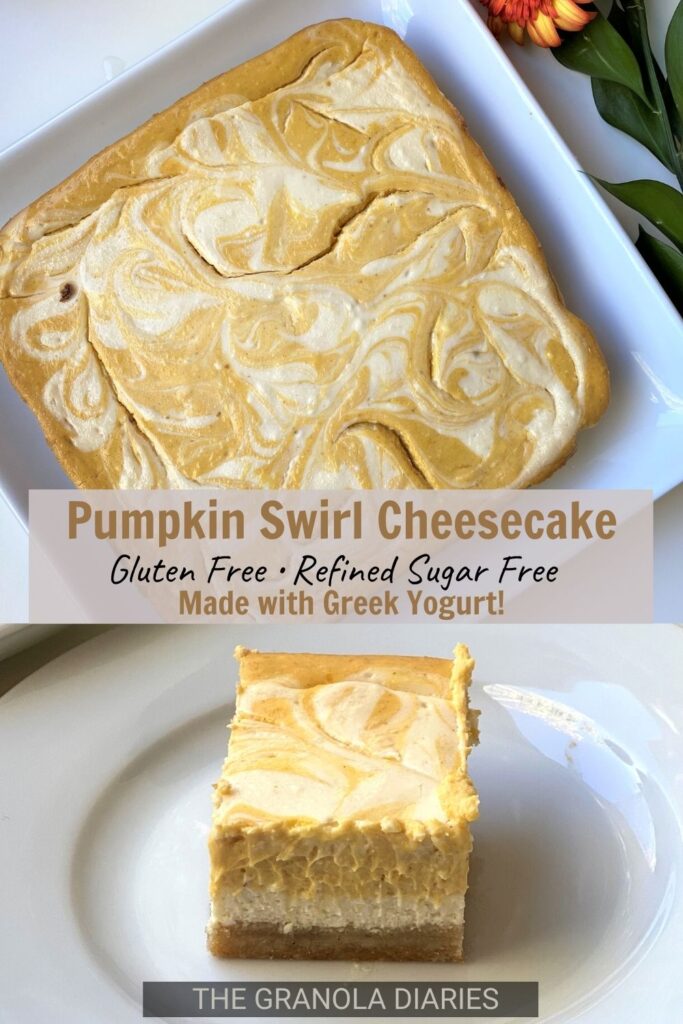
These Gluten Free Pumpkin Cheesecake Bars are truly one of the best healthier pumpkin desserts you can have! They are decadent and so delicious, at the same time they are refined sugar free and won’t leave you feeling terrible.
Made with Almond Flour, Greek Yogurt, and real pumpkin puree!
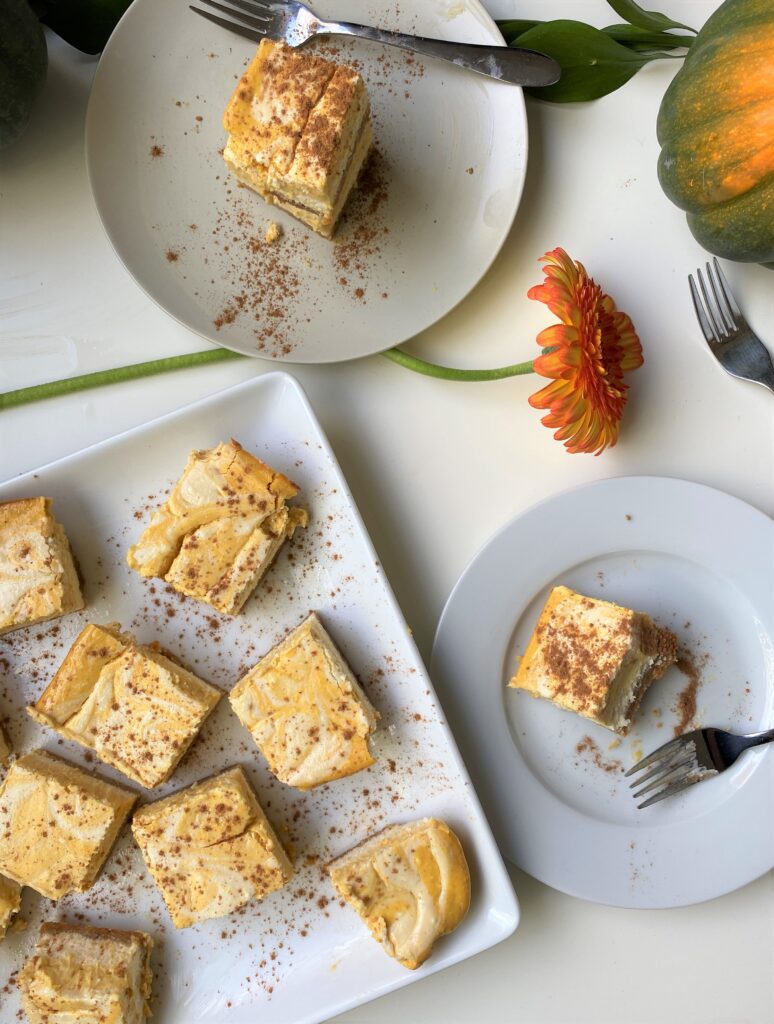
Tips for making the best Pumpkin Cheesecake Bars
Make sure your creamcheese and eggs are at room temperature. Seriously, though. I know sometimes a recipe says that with the egg and you can get away with *ignoring* that (trust me I am more guilty of this than anyone!), but in this case, room temperature is really important. Otherwise you will get weird clumps and it’s hard to backtrack from there.
Use a hand mixer if you can. You can also use a food processor or a whisk and some elbow grease, but the hand mixer will ensure the best texture and easiest clean up. This is the one I use.
Let the bars cool completely before cutting into them! I know it’s tempting, but if you cut into them still warm, they will sink and melt and make a total mess that you don’t want.
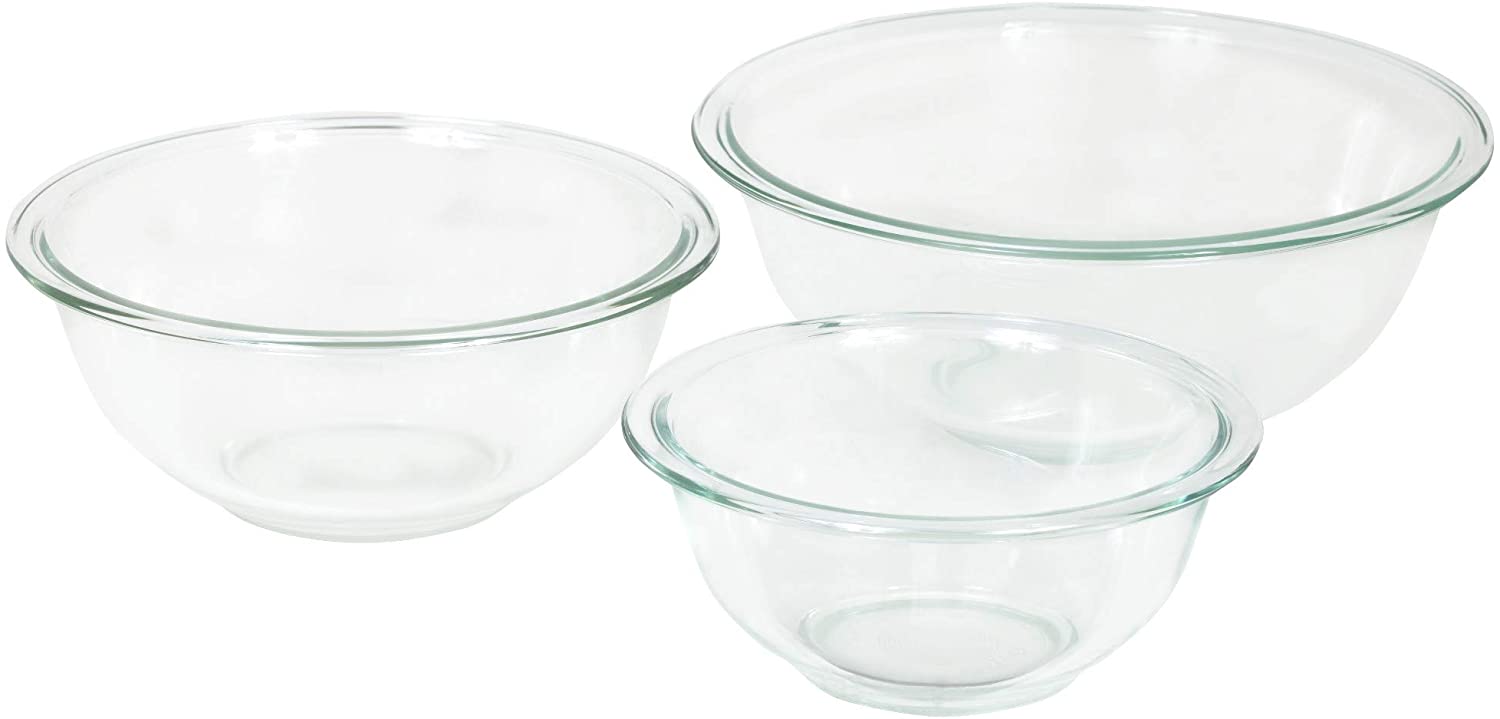
Let your baking tray come to room temperature before putting it in the fridge to cool. Especially if you are using a Pyrex. Extreme shifts in temperature, like straight from the oven to the fridge (or vice versa) put too much pressure on the glass and cause it to shatter. Always let it come to room temperature!
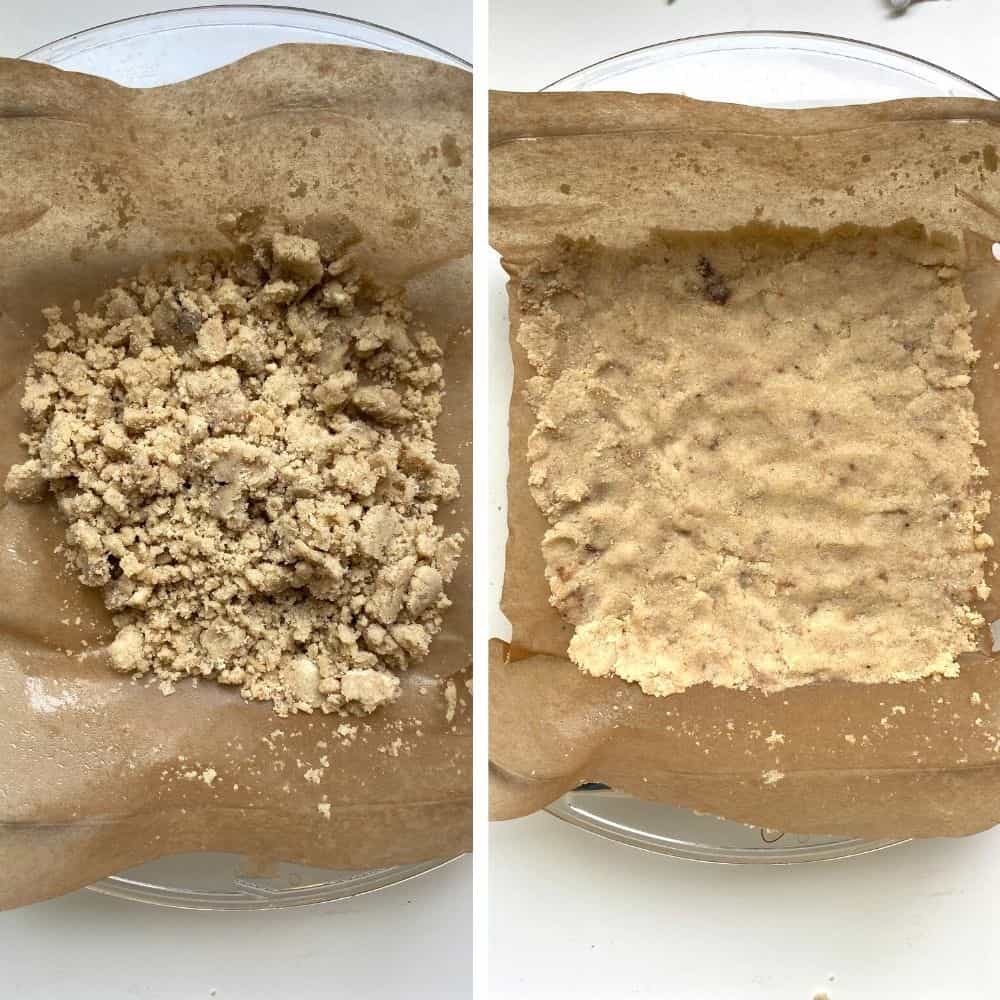
Gluten Free Cheesecake Crust
The base of these healthy cheesecake bars is simple: almond flour, honey, pumpkin pie spice, and either coconut oil or butter!
I love the sneaky addition of the Pumpkin Pie Spice into the crust. It ensures yummy autumnal flavors throughout the whole dessert, not just in the pumpkin part!
Personally, I also love using melted butter over coconut oil here. Usually, my recipes are Dairy Free so I try to keep to an oil base. But, since this recipe already has Dairy, I think you may as well indulge in some delicious butter, too!
Ingredients in Gluten Free Pumpkin Cheesecake
Pumpkin. Real pumpkin purée! You can totally make your own, but I recommend buying a can to keep this recipe on the simpler side. Make sure you buy Pumpkin Purée and NOT pumpkin pie mix, which also comes in a can.
Maple syrup. I used maple syrup to naturally sweeten this recipe and keep it refined sugar free. You could sub in honey if you prefer, but I think the maple compliments the pumpkin flavor so well.
Creamcheese. I used regular, dairy creamcheese for this recipe. Make sure you use full fat (it’s actually healthier).
Greek Yogurt. We use Greek Yogurt in this recipe instead of any sour cream or heavy cream. It provides the tangy flavor and creamy texture still, but is a much healthier option and packs an extra punch of protein! Make sure you use 2% or Full Fat for best results.
Almond flour. I used almond flour for the crust to keep it gluten free and grain free. If you are neither of those things, you can try to use your favorite homemade pie crust recipe instead, but it may no longer be gluten free.
Pumpkin Pie Spice. To bring out all the delicious fall flavors! If you don't have any on hand, you can use Cinnamon.

How do you make the Swirls in the Cheesecake?
This process is actually so much easier than it looks, and it is super fun! Please don't be intimidated.
First, you need to dollop the white cheesecake filling atop the orange cheesecake filling. I like to do this in a "checkerboard" pattern. Imagine the cheesecake is a checkerboard and you want to fill in every other square! If you have a couple that are too far or too close, its no big deal.
Next, you want to use a small or flat utensil. A toothpick, skewer, or butter knife are all good options.
Note you want to stay on the surface of the cheesecake, to make the swirls on the top but not all the way through. Be gentle!
Start in the center of one of your white "checker squares" and draw a small circle to a neighboring checker square. Then, to another. Keep doing this without lifting up your swirling utensil.
After some time, you will see the swirls developing. Take a good look at the cheesecake and decide if any areas need touching up.
Remember, the swirls are just for fun and aesthetics! It won't affect the delicious Pumpkin Cheesecake flavor and creamy texture. So, if it doesn't work out for you, don't sweat it! You should still carry on with the process.
Also, tag me in your Swirls on Instagram @thegranoladiaries! I want to see the good, the bad, and the ugly! We're all aboard the Swirl Train together.
Can I make this recipe Dairy Free Cheesecake?
While I haven't tried this myself, you could certainly try with a plant based creamcheese like Kite Hill. Note I haven’t tested this myself and do not guarantee success.
I would not recommend a Cashew base for this. Personally, I find those options much too rich and they do not leave me feeling good.
Unfortunately I would not suggest skipping the eggs in this recipe, if you want to make it vegan. They are necessary for keeping the cheesecake mixture together.
Healthy Pumpkin Cheesecake Q&A
Do you have more delicious gluten free pumpkin recipes on your site?
Why yes I do! And I am posting more all the time. You can check them all out here, some of my personal favorites are the Pumpkin French Toast and the Pumpkin Banana Bread.
Do you have more delicious cheesecake recipes?
I actually only have one at the time of writing. It’s an old post and the photos are clearly from when I knew nothing about food photography, but the recipe is pretty good - Honey Sweetened Strawberry Cheesecake!
I am allergic to nuts. Can I use something other than Almond Flour as the crust?
Yes! You can sub 1:1 for Cassava Flour, 1:1 Gluten Free Flour Blend, or general All Purpose Flour if you do not need to be Gluten Free.

Did you make this recipe?
Please tag me on Social Media @thegranoladiaries (Instagram / Facebook / Pinterest), and leave a rating/comment! This helps other readers see that the recipe is delicious and easy, and I would love your feedback!
I'll always repost your Instagram creations!
Pin this recipe for later!
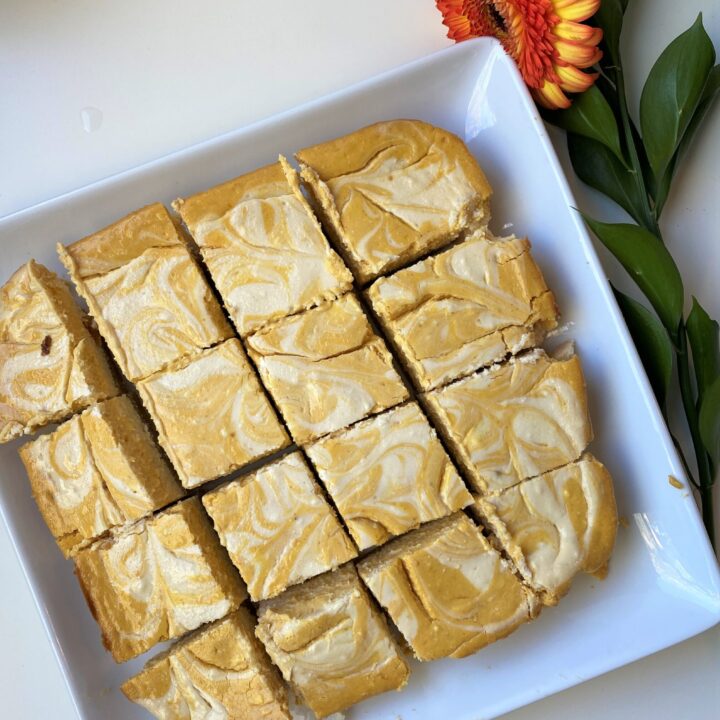
Gluten Free Pumpkin Cheesecake Bars
These delicious Pumpkin Cheesecake Bars taste a but lighter than your average piece of cheesecake, but they are super tasty and full of pumpkin flavor. Robbie's Recipe Rating gives a 9.6 / 10!
Ingredients
For the crust
- 1 ½ Cup Almond Flour
- 2 Tbsp Honey
- 2 Tbsp Coconut Oil or Butter (melted & room temperature)
- ½ Tsp Pumpkin Pie Spice (or Cinnamon)
For the Cheesecake Filling
- 16 oz Creamcheese (2 packages), room temperature
- ¾ Cup Greek Yogurt, room temperature
- ¾ Cup Honey
- 1 tsp Pure Vanilla Extract
- 2 Large Eggs, room temperature
For the Pumpkin Layer
- ½ Cup Pumpkin Puree
- 1 tsp Pumpkin Pie Spice
Instructions
- Preheat oven to 350 and line an 8x8" or 9x9" square baking dish with parchment paper.
- Make the crust. Melt the butter or coconut oil, and mix everything else together. The mixture should be a bit clumpy, but it should stick together if you pinch a piece between your fingers. Press this mixture into the baking dish with your hands to form a flat crust. Bake for 9 minutes. (You can do this step in advance if you'd like)
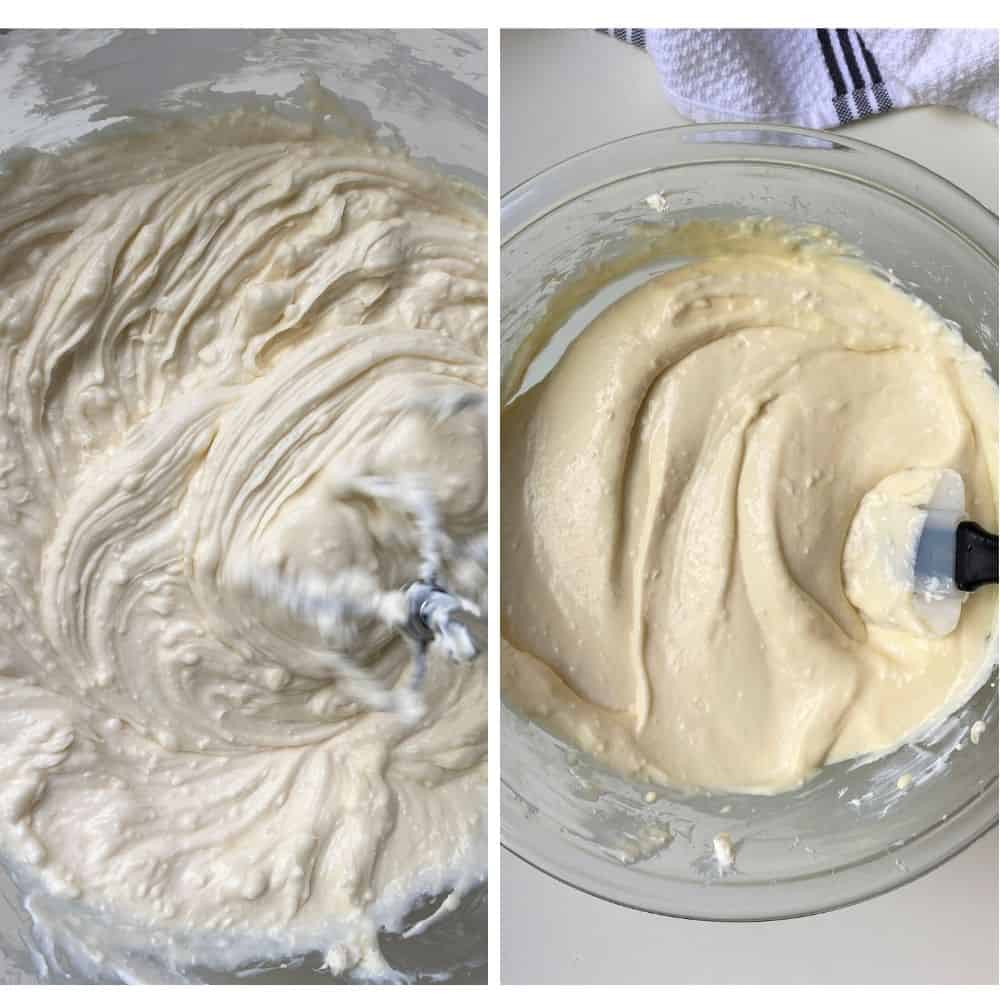
- Meanwhile, start to make your cheesecake filling! In a large bowl, use a hand mixer to whisk the creamcheese on a low setting for 1 - 3 minutes, until it looks well whipped and airy.
- Next, add in your Greek yogurt and mix on low for another ~1 minute. Repeat with the vanilla and honey, and then the eggs, 1 at a time. Scrape down the sides of the bowl as you go.
- Once everything is mixed, use medium speed for a final 30 seconds - 1 minute to really get everything mixed together.
- When the crust is done par-baking, allow it to cool for at least 10 minutes. Lower the oven to 310 degrees Farenheit.
- Spoon 1.5 Cups of the cheesecake filling onto the crust, using a rubber spatula or spoon to ensure it is even. Reserve about ¼ Cup of the plain filling in a separate bowl (or your measuring cup).
- Add your pumpkin puree and spice to the remaining cheesecake filling, and mix with a spatula until well combined and orange. Gently pour this on top of the plain layer, again using a rubber spatula to even spread out.
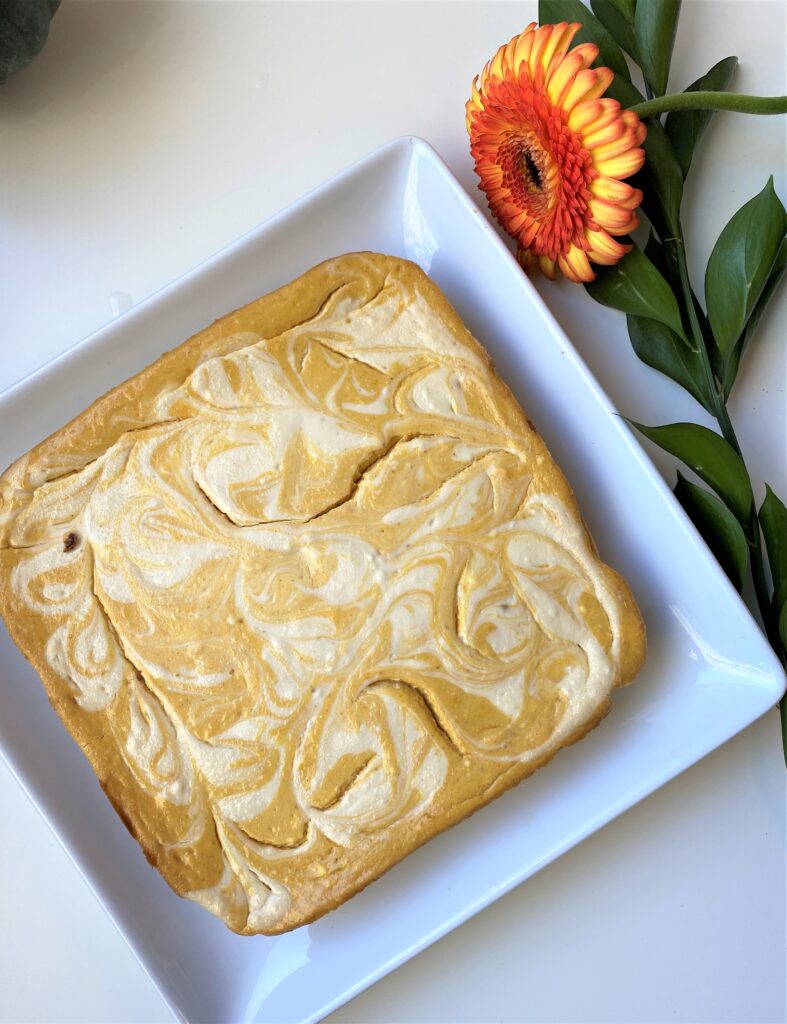
- Spoon the remaining plain mixture on top, in random spots. Use a toothpick or butter knife to gently run through the top and create swirls.
- Bake for 50 - 55 minutes, until edges just start to gently brown and the inside doesn't jiggle if you gently move the dish.
- The hardest step: let the cheesecake come to room temperature, and then place in the fridge for 2 - 24 hours before slicing.
Notes
The blog post contains lots of tips, tricks, and advice. Read through it if you have questions about the process!
Recommended Products
As an Amazon Associate and member of other affiliate programs, I earn from qualifying purchases.
Nutrition Information:
Yield: 16 Serving Size: 1Amount Per Serving: Calories: 230Total Fat: 14gSaturated Fat: 8gTrans Fat: 0gUnsaturated Fat: 8gCholesterol: 54mgSodium: 50mgCarbohydrates: 20gFiber: 2gSugar: 13gProtein: 6g



I have this in the oven right now, but I’m really not sure how it’s going to turn out. I opted to use pure maple syrup instead of honey like you’d suggested, but as soon as I added it in my entire cheesecake mixture got incredibly thin/watery/liquidy. Is there a reason this happened??
Hi Liz! Hmm, hopefully it still turns out okay. The mixture should be a bit thinner, but it should not be "watery" or "liquidy". Its possible your maple syrup was a thinner variety. Did you also make sure to use full fat or 2% Greek Yogurt? Was it still thick enough to get the swirls?
If the inside is still jiggly after baking time, try baking a little longer - maybe 8 - 10 minutes or so. Hopefully it will still bake through and thicken up in the fridge!
Bah! I just realized my Greek yogurt was 0% milk fat. 🙁 I was still able to get the swirls though! It’s been an hour and it’s still jiggly so I just put it back in for 10 more minutes. I keep my maple syrup refrigerated but I don’t know if that would cause it to be thinner?
If it was still thick enough to layer it and make the swirls, I think you will be fine! 10 more minutes in the oven sounds good, just make sure the outside edges don't start to burn! After you let it come to room temperature, maybe refrigerate overnight - 24 hours to ensure it really has time to come together in the cooling process. Fingers crossed for you!!! Keep me posted!
They turned out! Albeit, not as pretty as yours but they’re so good! They did burn a little around the edges but that was my fault in an attempt to make sure it cooked through. I’m definitely making them again!!
delicious!